
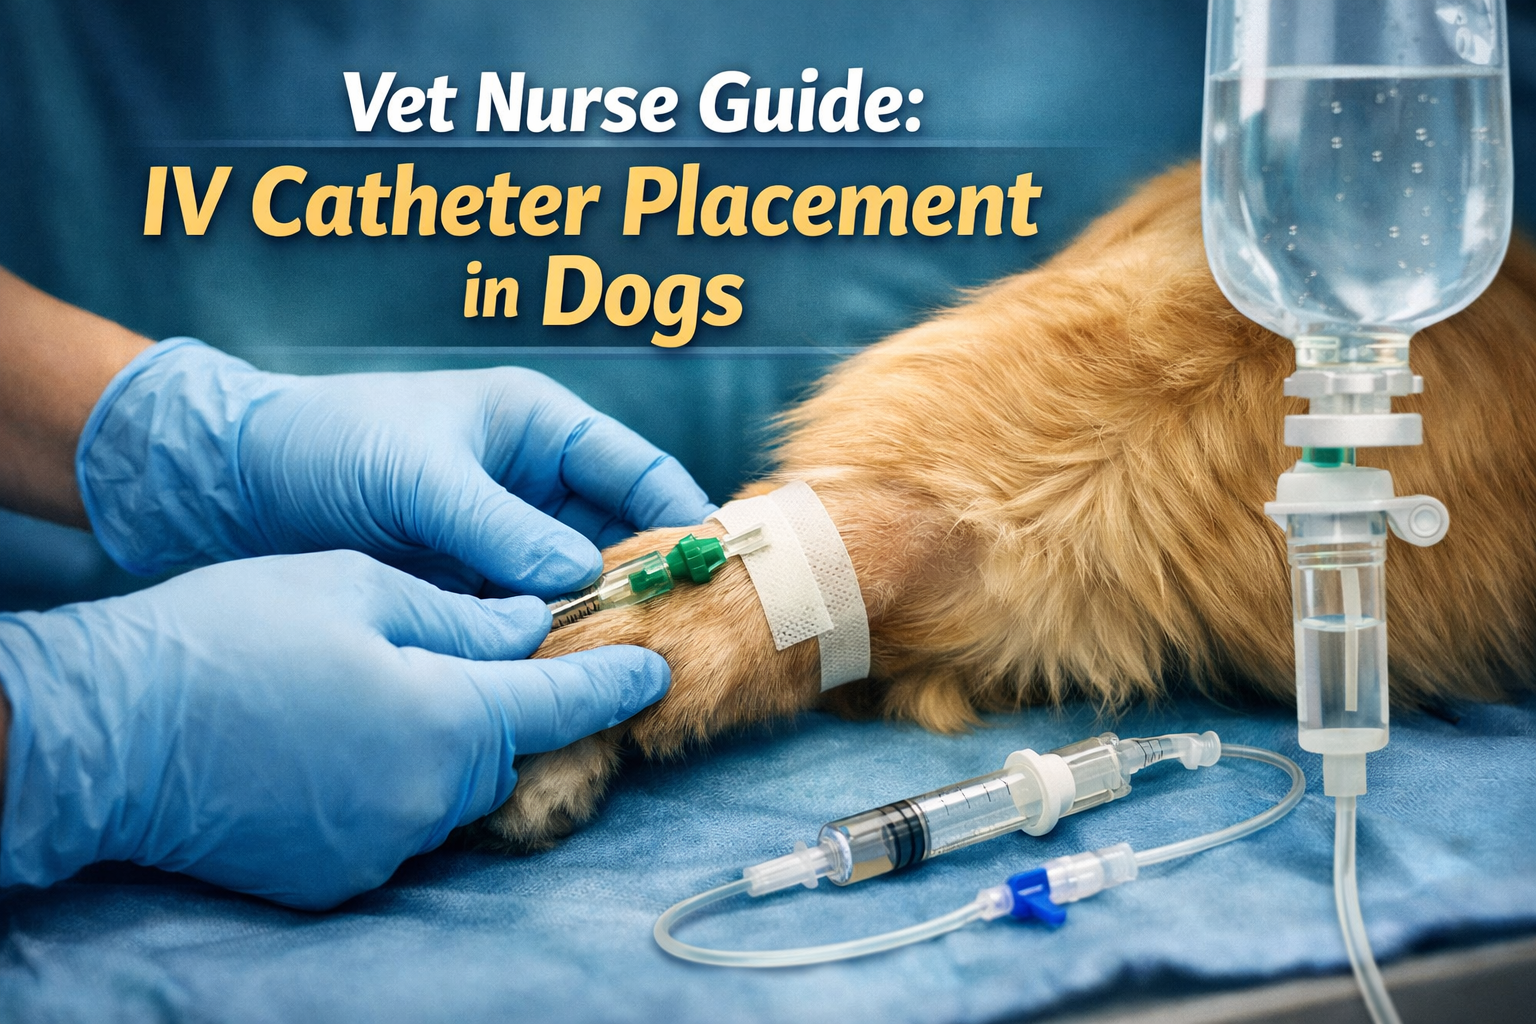

IV catheter placement in dogs is one of the most common procedures performed in veterinary practice, forming a cornerstone of emergency care, anaesthesia, and inpatient treatment. While it is a routine intervention in clinics, successful catheter placement depends on anatomy knowledge, patient assessment, aseptic awareness, and ongoing monitoring rather than a fixed set of “steps”.
This guide is designed for veterinary nurses and students to support clinical understanding, confidence, and decision-making around IV catheter use in dogs.
Read also: 7 Important Types of Bones in Animals: A Full Guide
1. Understanding the purpose of IV catheter placement in dogs
IV catheters provide direct vascular access for:
- Fluid therapy in dehydrated or shocked patients
- Anaesthetic induction and maintenance support
- Emergency drug administration
- Continuous or intermittent medication delivery
- Hospitalised patient stabilisation
They are a critical tool in both routine and emergency veterinary care.
2. Which vein is most commonly used for IV catheter placement in dogs?
A frequent clinical question is: which vein is most commonly used for IV catheter placement in dogs?
The cephalic vein is most commonly selected in general practice due to accessibility and ease of restraint. The lateral saphenous vein is also widely used, particularly in patients where forelimb access is limited.
The jugular vein is typically reserved for specific clinical needs such as larger bore access or critical care monitoring.
3. Where do vets put IVs on dogs?
In practice, vets and nurses place IV catheters in:
- Forelimb cephalic vein (most common)
- Hindlimb lateral saphenous vein
- Jugular vein (selected hospital cases)
Choice depends on patient temperament, condition, hydration status, and treatment requirements.
4. Where is the IV injection site on a dog?
The IV “site” refers to the catheterised vein, typically located:
- Along the medial or lateral forelimb
- On the lateral aspect of the hindlimb
- In the jugular groove of the neck
Once placed, the site is secured with sterile dressing and bandaging to maintain patency and reduce contamination risk.
5. Patient assessment before IV catheter placement in dogs
Before attempting catheter placement, veterinary nurses assess:
- Hydration status
- Cardiovascular stability
- Vein visibility and palpability
- Stress and temperament level
- Previous catheter history or complications
- Coat condition and skin integrity
This assessment helps determine vein selection and anticipated difficulty.
6. How to find a vein for an IV in a dog (clinical approach)
A common question is: how do I find a vein for an IV in a dog?
In clinical practice, vein identification is based on:
- Visualisation (where possible)
- Palpation of a soft, resilient vessel
- Physiological indicators (hydration, perfusion)
- Patient positioning and restraint optimisation
Difficulty increases significantly in dehydrated, shocked, or hypotensive patients.
7. Is it hard to give a dog an IV?: IV catheter placement in dogs
Another frequently asked question is: is it hard to give a dog an IV?
Difficulty varies based on:
- Patient size (toy breeds vs large breeds)
- Level of dehydration
- Vein condition
- Patient movement or anxiety
- Clinical urgency
- Operator experience
Even in experienced hands, some patients require multiple attempts or alternative vein selection.
8. Common clinical complications and mistakes in IV insertion
Understanding potential issues helps improve patient safety. What are the common mistakes in IV insertion?
These can include:
- Poor vein stabilisation
- Inadequate aseptic preparation
- Incorrect catheter size selection
- Failure to recognise early infiltration
- Dislodgement due to insufficient securing
- Multiple traumatic attempts leading to vessel damage
Good technique and careful monitoring reduce these risks significantly.
9. How do I tell if an IV was put in wrong?
Nurses should monitor for signs of complications such as:
- Swelling around the catheter site
- Cold or firm tissue distal to insertion point
- Fluid leakage under the skin
- Reduced or stopped fluid flow
- Patient discomfort or licking at the site
- Redness or inflammation
If these signs appear, the line should be assessed immediately and replaced if necessary.
10. Monitoring and ongoing IV site care
Once placed, IV catheters require regular monitoring:
- Check bandaging integrity
- Inspect for swelling or leakage
- Ensure line patency
- Monitor patient comfort
- Maintain aseptic handling during use
- Replace or remove if complications arise
Routine checks are essential in preventing catheter-associated complications.
Final thoughts
IV catheterisation in dogs is a foundational veterinary nursing skill that requires strong anatomical knowledge, patient assessment ability, and strict adherence to aseptic practice.
While the technique itself is learned through hands-on clinical training, understanding vein selection, risk factors, and complication recognition is essential for safe and effective patient care.
Read also: IV Catheters for Dogs: What Are They, and How Do You Care For Them? | PetMD



Leave a Reply